|
Postfix: Install/Configure Redundant SMTP Relay Servers on Ubuntu Server 22.04
(c) brokenribgolfer.com
Author: Mark Hopkins Email WhatsApp Date Published: 03.01.2026 Date Last Modified: 03.01.2026 In this article we going to show how to install two postfix outbound mail relay hosts and one client set up to use them both. We will start with three Ubuntu Server 22.04 virtual machines (configured to a certain point), install the current version of postfix (3.8.6) available from Ubuntu, and configure each for their respective purpose. As always we will perform as much of this work using scripts and configuration files.
Background Background Building out a data center of any size, requires many components. As the building progresses, the realization that people and applications need to send outbound emails becomes obvious. For example, infrastructure and application monitoring requires the ability to send email and SMS (Short Message Service) as alerts when certain events take place. This function needs to be redundant / highly available. Our technical writer will document this process, thoroughly, accurately, and completely as always. Assumptions As always, we try to cover every little detail in an article, always trying to set us apart from the "other guy" so-to-speak. Anyone with access to resources will be able get this done simply by following our steps. However, a good working knowledge of Ubuntu, the linux CLI, and DNS will be of great assistance when following this article. Requirements
Requirements for duplicating this exercise in your environment are:
|
Architecture
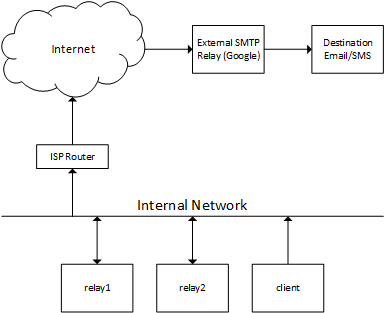
This diagram depicts the very basic architecture used for this article. In a nutshell, some entity
(person, application, etc.) on the "client" server needs to email something like an alert. Based upon
its postfix configuration (controlled by Puppet for us), the email will be routed through either "relay1"
or "relay2". This is a very convenient feature of postfix and works perfectly. The configurations of
"relay1" and "relay2" are identical. They will be configured to route securely through Google. We will
not cover that part of the configuration as not everyone uses Google as a relay. We have been known to also route
through Sinch MailJet. There are several free alternatives, all of which allow hundreds of routes
per day.
|
|
Files Throughout this article/procedure, certain scripts/drawings/configs are referenced, sometimes without explanation. Here are those files, available for download and/or viewing. Please feel free to use any/all of these files as you wish. |
| architecture.vsdx | download |
| installPostfixSatellite.sh | download |
| installPostfixLocalOnly.sh | download |
| site.pp | download |
|
Procedure Initially, we intended to install the latest postfix version from postfix.org repositories, however we found the postfix website to be a nightmare. There is no standard way, that we found, to add their repos to our systems. So, now that we have laid the groundwork, let's get going with the actual steps. |
Pre-Installation
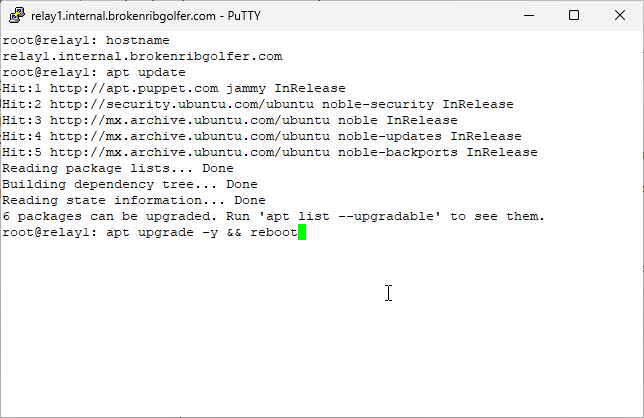
There isn't really much pre-installation to do for this article as it turns out. Perhaps I should have brought this up in the Assumptions or Requirements sections but following this article is better done from a completely configured infrastructure. As you can see here, our DNS is set up to leverage an internal domain, internal.brokenribgolfer.com. Does this mean you cannot use this article? Probably not as long as you have set up host files appropriately. The only other pre-installation step could be to make sure that your servers have an active internet connection. This can be done in many ways including what we show here. What we are doing is making sure that our systems are patched to the current level; also a good idea before we begin. Command(s)
|
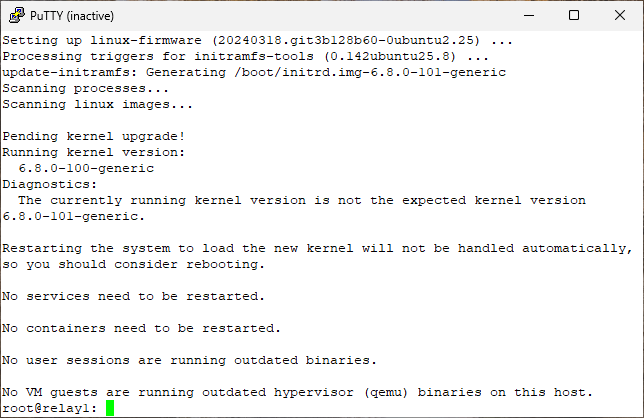
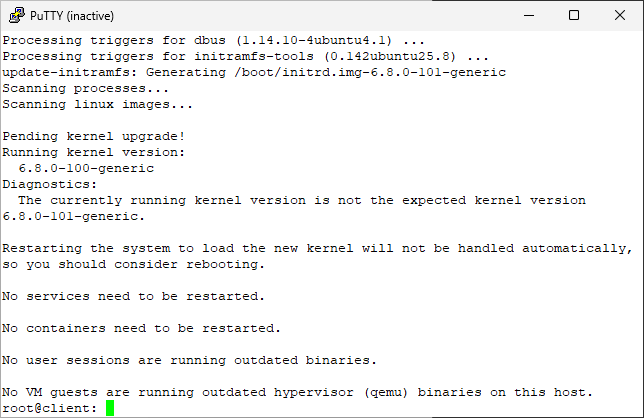
As shown here, the upgrade was successful and the system has shutdown/rebooted, disconnecting the PuTTY session. |
Install/Configure/Test Postfix (relay1)
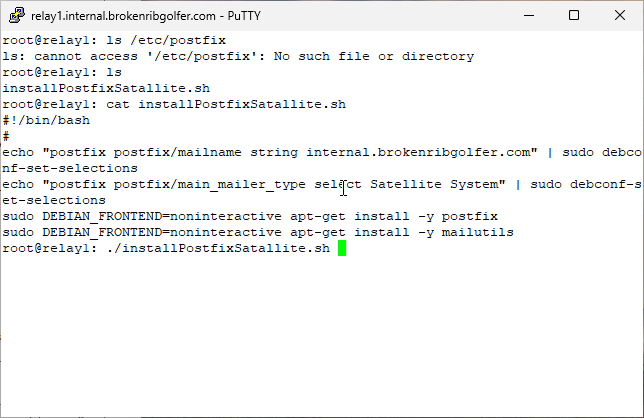
After making sure that postfix is not installed (there are other ways to do this), we execute our bash script to install postfix on our first relay server. We then install the mailutils package. We thought about having Puppet install mailutils but that does not work for us because we want to control the postfix install. Because mailutils needs a mail transport, if one is not present, postfix will be installed as a prerequisite. We will install mailutils after postfix. Mailutils will not touch postfix if it is already installed. If another mail transport (Sendmail, Exim4, etc.) is present will mailutils install postfix? Currently, no it will not. Command(s)
|
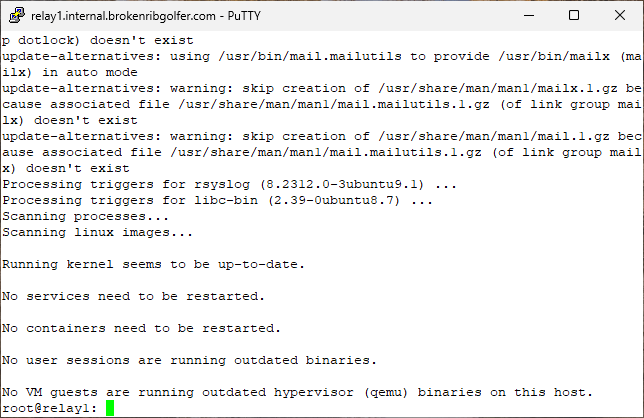
Seems that everything was installed without a problem. |
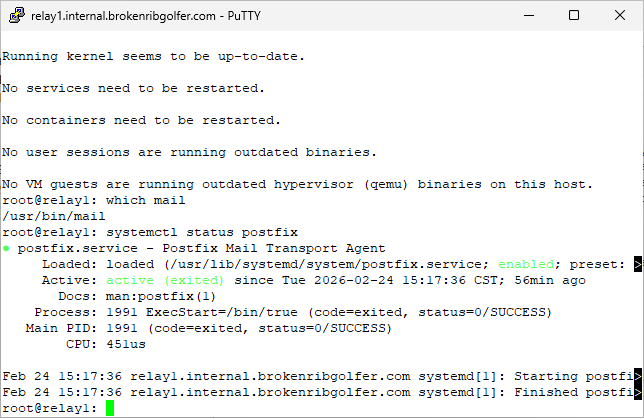
A quick check to see if the mail command will be available. Of course it is as we installed mailutils. Next we see that postfix is running, seemingly without any issues. Via systemctl we can not only see that postfix is running but that the service is enabled for autostart. Command(s)
|

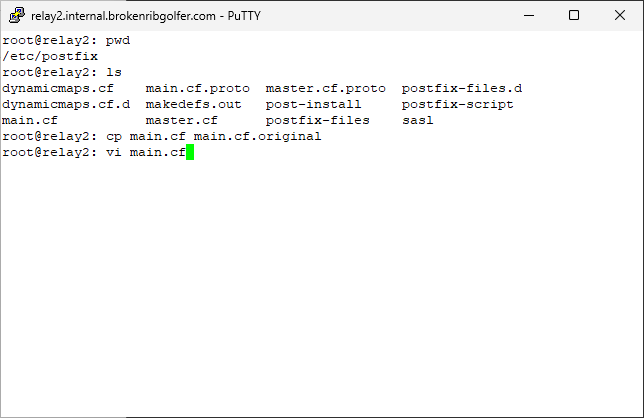
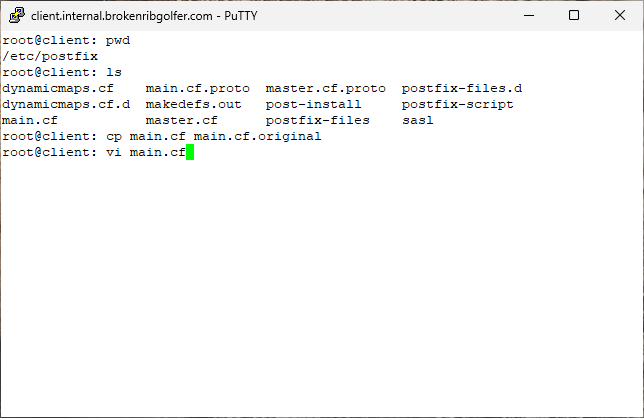
We only need to modify one file and create another. First we save the original main postfix configuration and then we will edit the configuration file. Command(s)
|

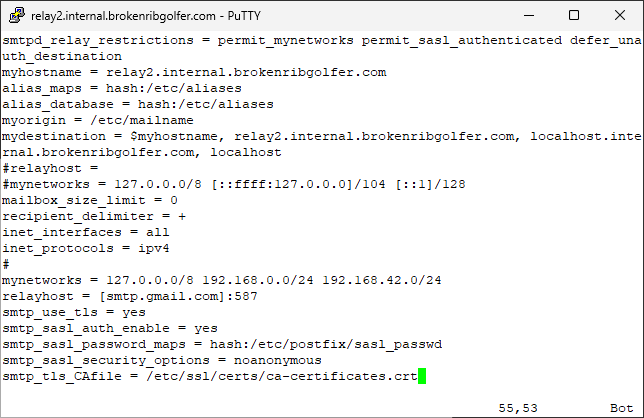
We go to the bottom of the file (Shift-g) and here is what we see are the default configuration settings. |
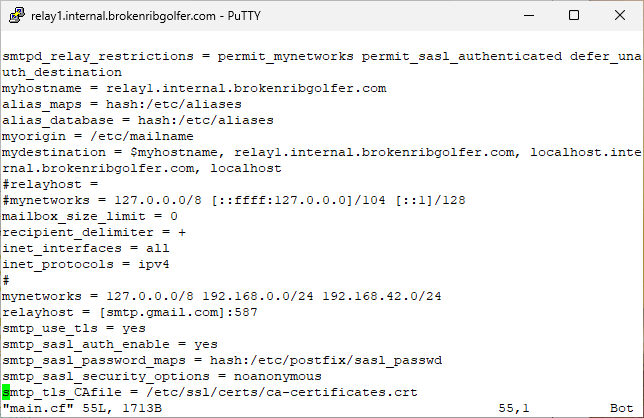
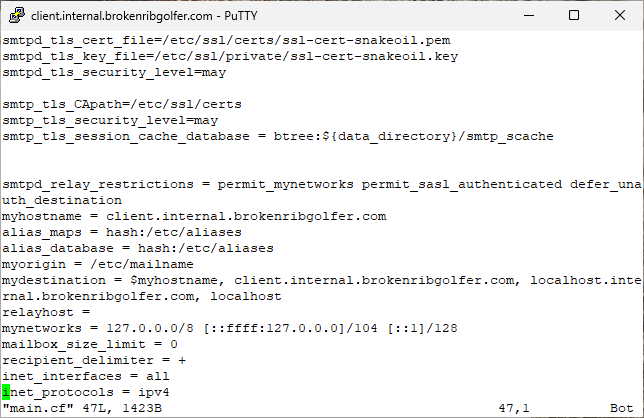
We comment out two settings and add them back along with others we need for the postfix configuration for our network. Some of these might be different for you. |
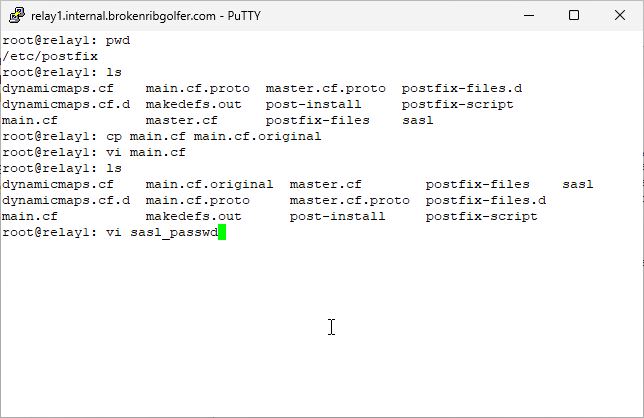
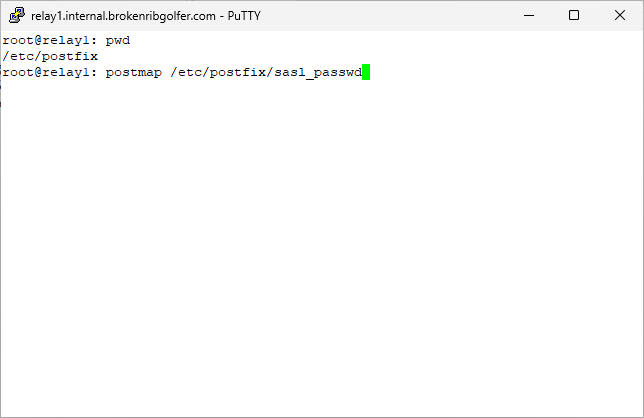
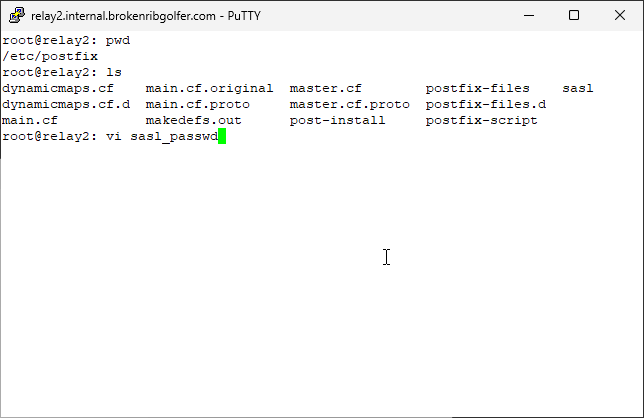
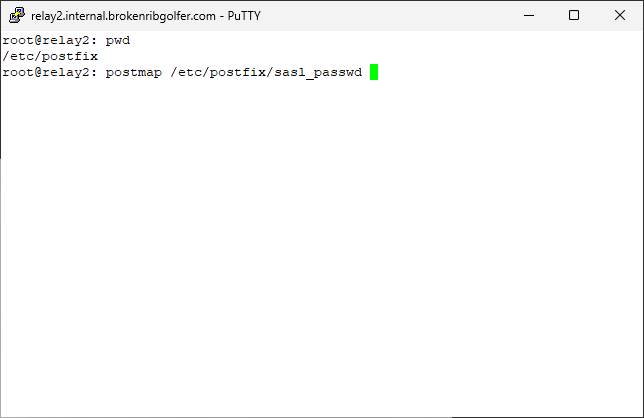
We need /etc/postfix/sasl_passwd configured. As shown here, it does not exist. So let's create it. Command(s)
|

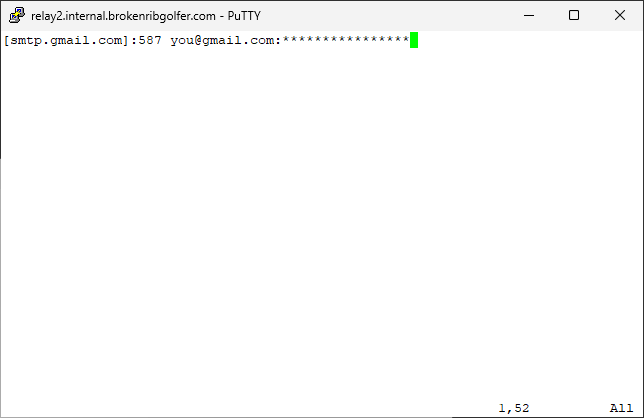
As we have stated, we are using Google as out SMTP forwarder. This is obviously not what we are using. No matter what you are using, you will need to provide an email address and a password (perhaps more) from your SMTP provider. |
Now we create /etc/postfix/sasl_passwd.db, which is needed by postfix to authenticate with Google SMTP. Command(s)
|

Time to restart postfix wtih the new configuration. All looking good. Command(s)
|
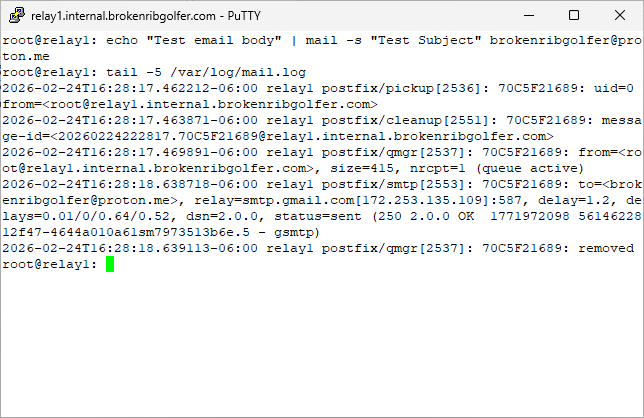
Test our new postfix local relay server. When we check the log file, all looks good. We will not show it here, but we received the test email in Proton Mail. We also rebooted the server (relay1) and repeated the test. It was again successful. This concludes work on this server. Command(s)
|
Install/Configure/Test Postfix (relay2)
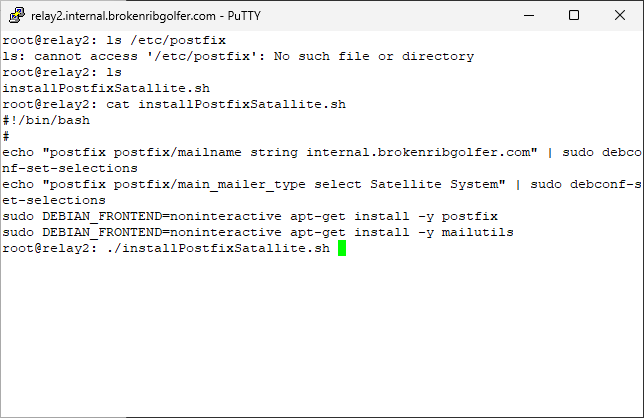
This section is supplied for completeness only as it is almost exactly the same as the previous section (Install/Configure/Test Postfix (relay1)). Here we execute our bash script to install postfix, followed by mailutils on our second relay server. Command(s)
|
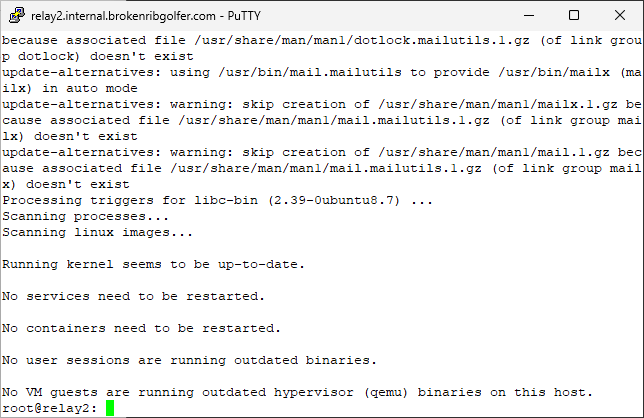
Seems that everything was installed without a problem. |

A quick check to see if the mail command will be available. Of course it is as we installed mailutils. Next we see that postfix is running, seemingly without any issues. Via systemctl we can not only see that postfix is running but that the service is enabled for autostart. Command(s)
|
We only need to modify one file and create another. First we save the original main postfix configuration and then we will edit the configuration file. Command(s)
|

We go to the bottom of the file (Shift-g) and here is what we see are the default configuration settings. |
We comment out two settings and add them back along with others we need for the postfix configuration for our network. Some of these might be different for you. |
We need /etc/postfix/sasl_passwd configured. As shown here, it does not exist. So let's create it. Command(s)
|
As we have stated, we are using Google as out SMTP forwarder. This is obviously not what we are using. No matter what you are using, you will need to provide an email address and a password (perhaps more) from your SMTP provider. |
Now we create /etc/postfix/sasl_passwd.db, which is needed by postfix to authenticate with Google SMTP. Command(s)
|
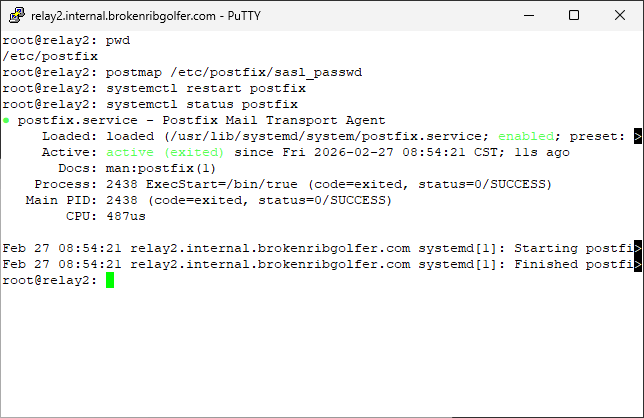
Time to restart postfix wtih the new configuration. All looking good. Command(s)
|
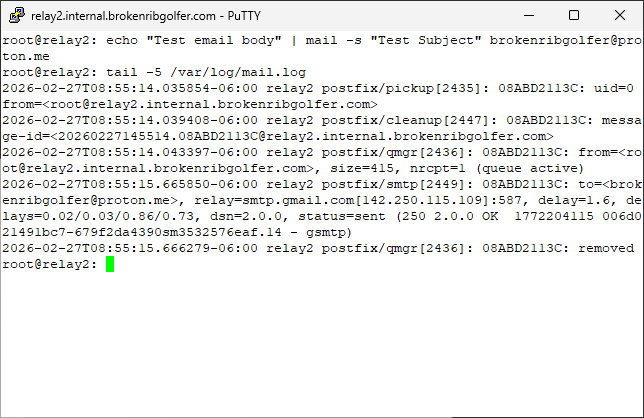
Test our new postfix local relay server. When we check the log file, all looks good. We will not show it here, but we received the test email in Proton Mail. We also rebooted the server (relay1) and repeated the test. It was again successful. This concludes work on this server. Command(s)
|
Install/Configure/Test Postfix (client)
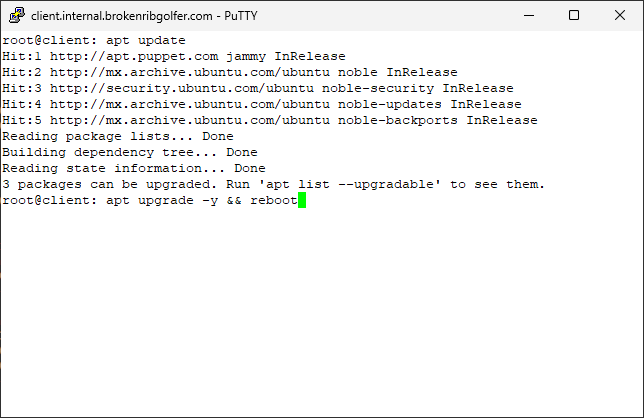
This section is also supplied mainly for completeness however there will be at least one difference from section (Install/Configure/Test Postfix (relay1)). Here we start by updating the system. Command(s)
|
Looks like the upgrade went well and the system rebooted. As shown here our PuTTY session has been disconnected. |
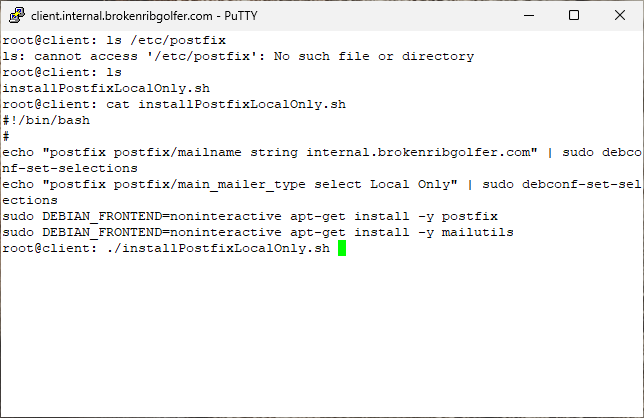
Again we check for the existence of the postfix configuration directory. Then notice that our instalation script has changed. We want to install a Local Only version of postfix. This server will only ba allowed to mail internally or route to a rely host, like relay1 and/or relay2. Command(s)
|
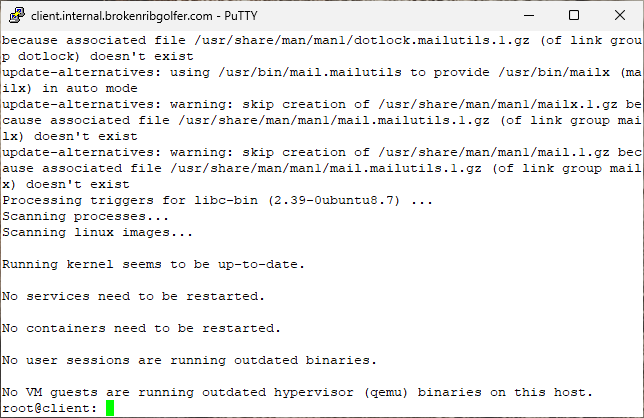
Looks like the install script ran to completion without issue. |
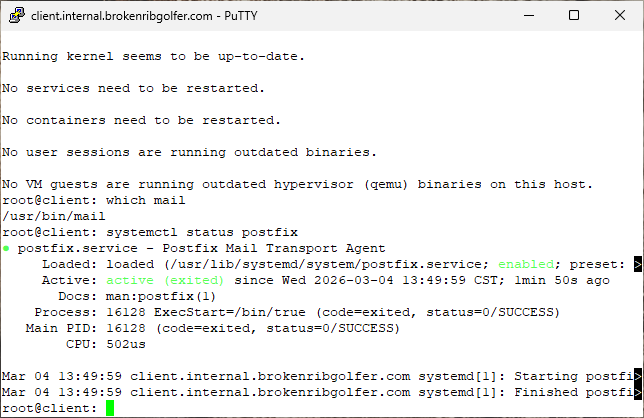
Check that mailutils installed the mail command. It did. Then check the status of the postfix service. Command(s)
|
Being an internal client using an internal relay (relay1 or relay2) we really do not need to worry about security. We will let our relay hosts take care of that. So let's make the only change to main.cf, after we make a backup copy of the file. Command(s)
|
Go to the file bottom (Shft-g). |
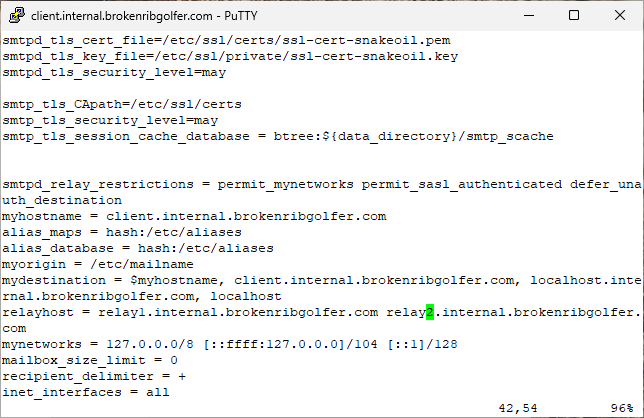
Modify one parameter, relayhost, save the file and exit the editor. |
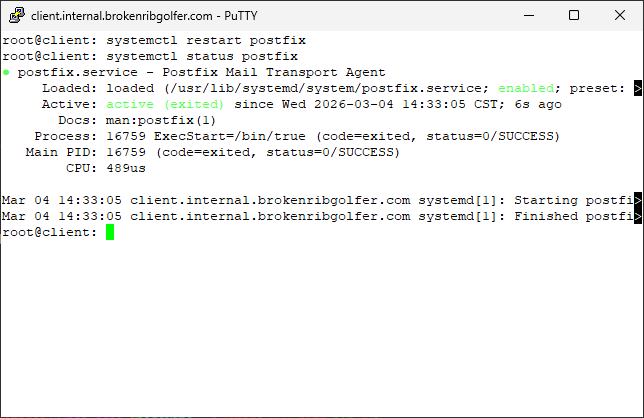
Restart the postfix service and check the status afterwards. Command(s)
|
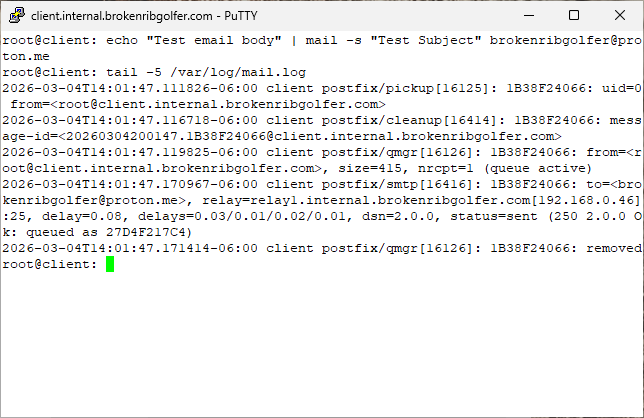
Test the client configuration by sending mail to an internet account. Then check the mail log file. Looks good. Notice the email was relayed to host relay1. Command(s)
|
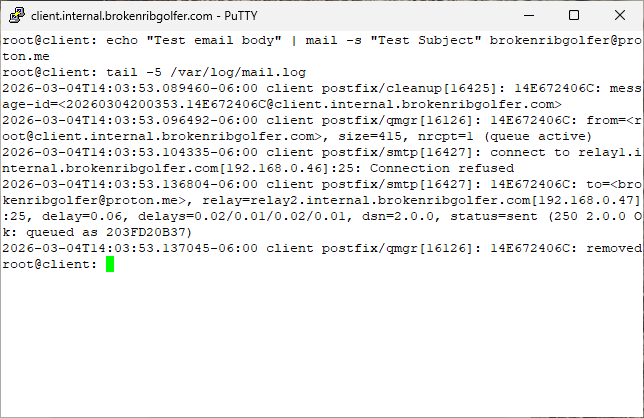
After stopping the postfix service on relay1, repeat the previous step. This time notice that the email was relayed through the relay2 host. Command(s)
|
|
Conclusion
During the writing of this article, I learned that installing the mailutils package, will install postfix if no mail transport is available. Other than that, postfix seems to be quite easy to install and manage. My previous experience setting up mail was with sendmail. I seem to remember sendmail as being a bit of a nightmare. In any case, we now have a redundant email forwarding service at internal.brokenribgolfer.com. Thanks for reading. I hope this article was informative. |
|
Printing
As it turns out, as we are busy working on the HTML/CSS/php/Java Script formatting of our articles,
pretty printing is not yet possible. We are working on it at a low priority.
|